What are Diecast Models
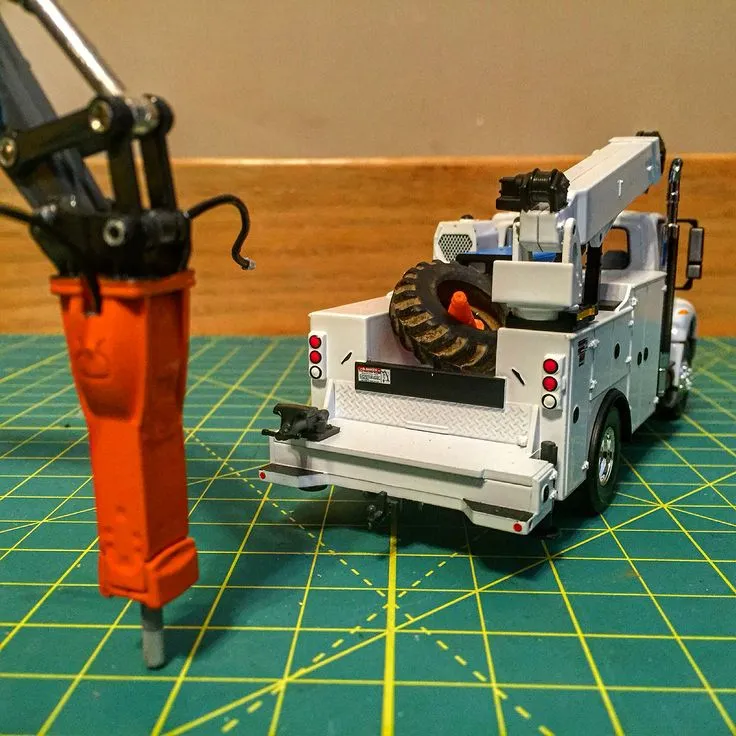
Diecast models are miniature replicas of real-world vehicles, typically made using a die-casting process. This involves injecting molten metal, usually zinc alloy, into a mold to create highly detailed and accurate models. The term “diecast” refers to this manufacturing method, ensuring durability and intricate detailing. These models are not just toys; they are collectibles, hobby items, and sometimes even valuable investments. They span a wide range of vehicles, including cars, trucks, airplanes, and motorcycles, and are popular among enthusiasts of all ages. Diecast models capture the essence of the original vehicles, allowing collectors and builders to appreciate the design and engineering in a smaller, tangible form.
Types of Diecast Models
The world of diecast models is vast, encompassing various types and scales to cater to diverse interests. Primarily, models are categorized by the type of vehicle they represent. You’ll find a spectrum of cars, from classic vintage automobiles to modern sports cars and everyday vehicles. Trucks and commercial vehicles are also widely available, offering models of semi-trucks, delivery vans, and construction vehicles. Aviation enthusiasts can enjoy detailed replicas of airplanes, while fans of two-wheeled machines can collect motorcycles. Each type presents unique challenges and rewards in terms of building and detailing.
Scale Models
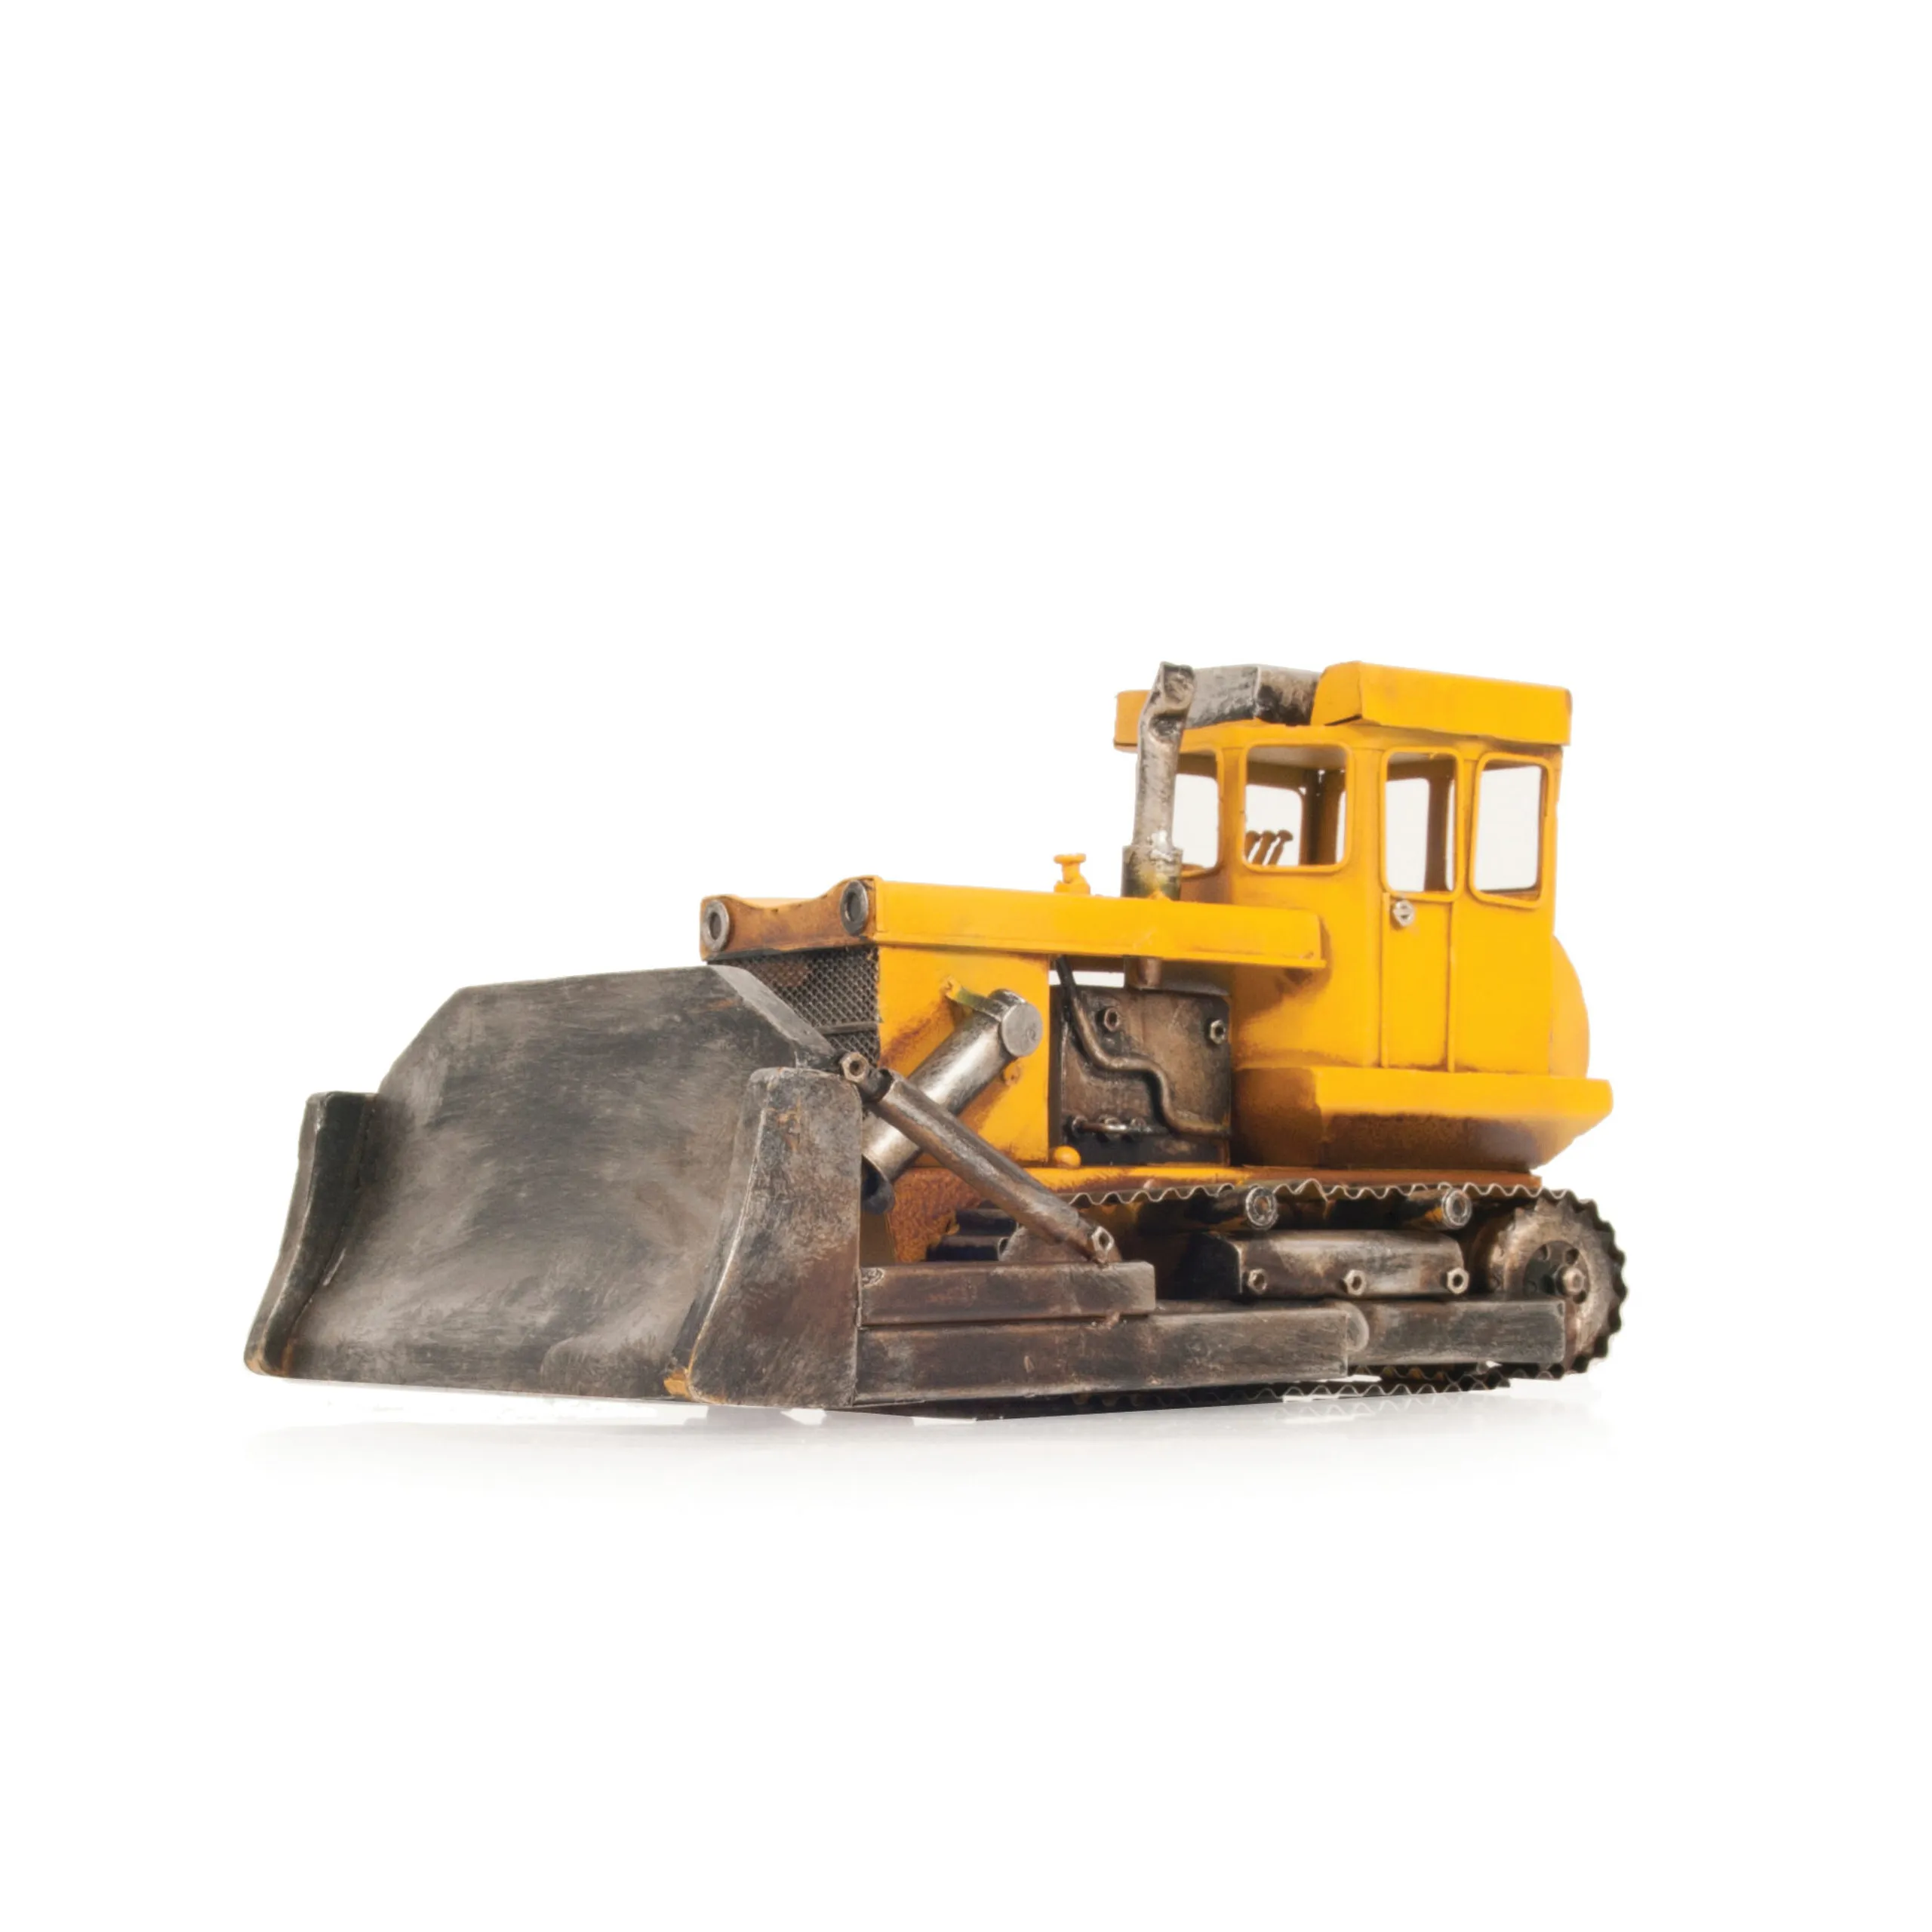
Scale is a crucial factor in diecast models, determining the size and level of detail. Common scales include 1:18, 1:24, 1:43, and 1:64, representing the model’s size relative to the original vehicle. For example, a 1:18 scale model is 1/18th the size of the real vehicle. Larger scales like 1:18 offer more detail and are often preferred by collectors, while smaller scales like 1:64 are more compact and easier to display. The choice of scale often depends on personal preference, available space, and the desired level of detail. Different scales also affect the availability of specific models.
Types of Models
Within the world of diecast, there are variations based on the level of assembly required. Some models come fully assembled and ready to display, offering a convenient option for those who want to start collecting immediately. Other models come as kits, providing a more involved building experience. These kits require assembly, painting, and sometimes the addition of detailed parts, allowing builders to customize their models. The level of detail in these kits can vary widely, from basic snap-together models to highly complex models requiring advanced skills and tools. There are also pre-painted models and models that need painting.
Tools and Materials Needed
Building diecast models requires a selection of tools and materials to ensure a smooth and successful process. Having the right equipment makes the task easier and enhances the final result. The essential tools and materials vary depending on the complexity of the model and the level of detail you want to achieve. Basic tools are generally sufficient for simple assembly, while advanced techniques may require specialized equipment. Investing in quality tools will improve your building experience and the quality of your finished models.
Essential Tools
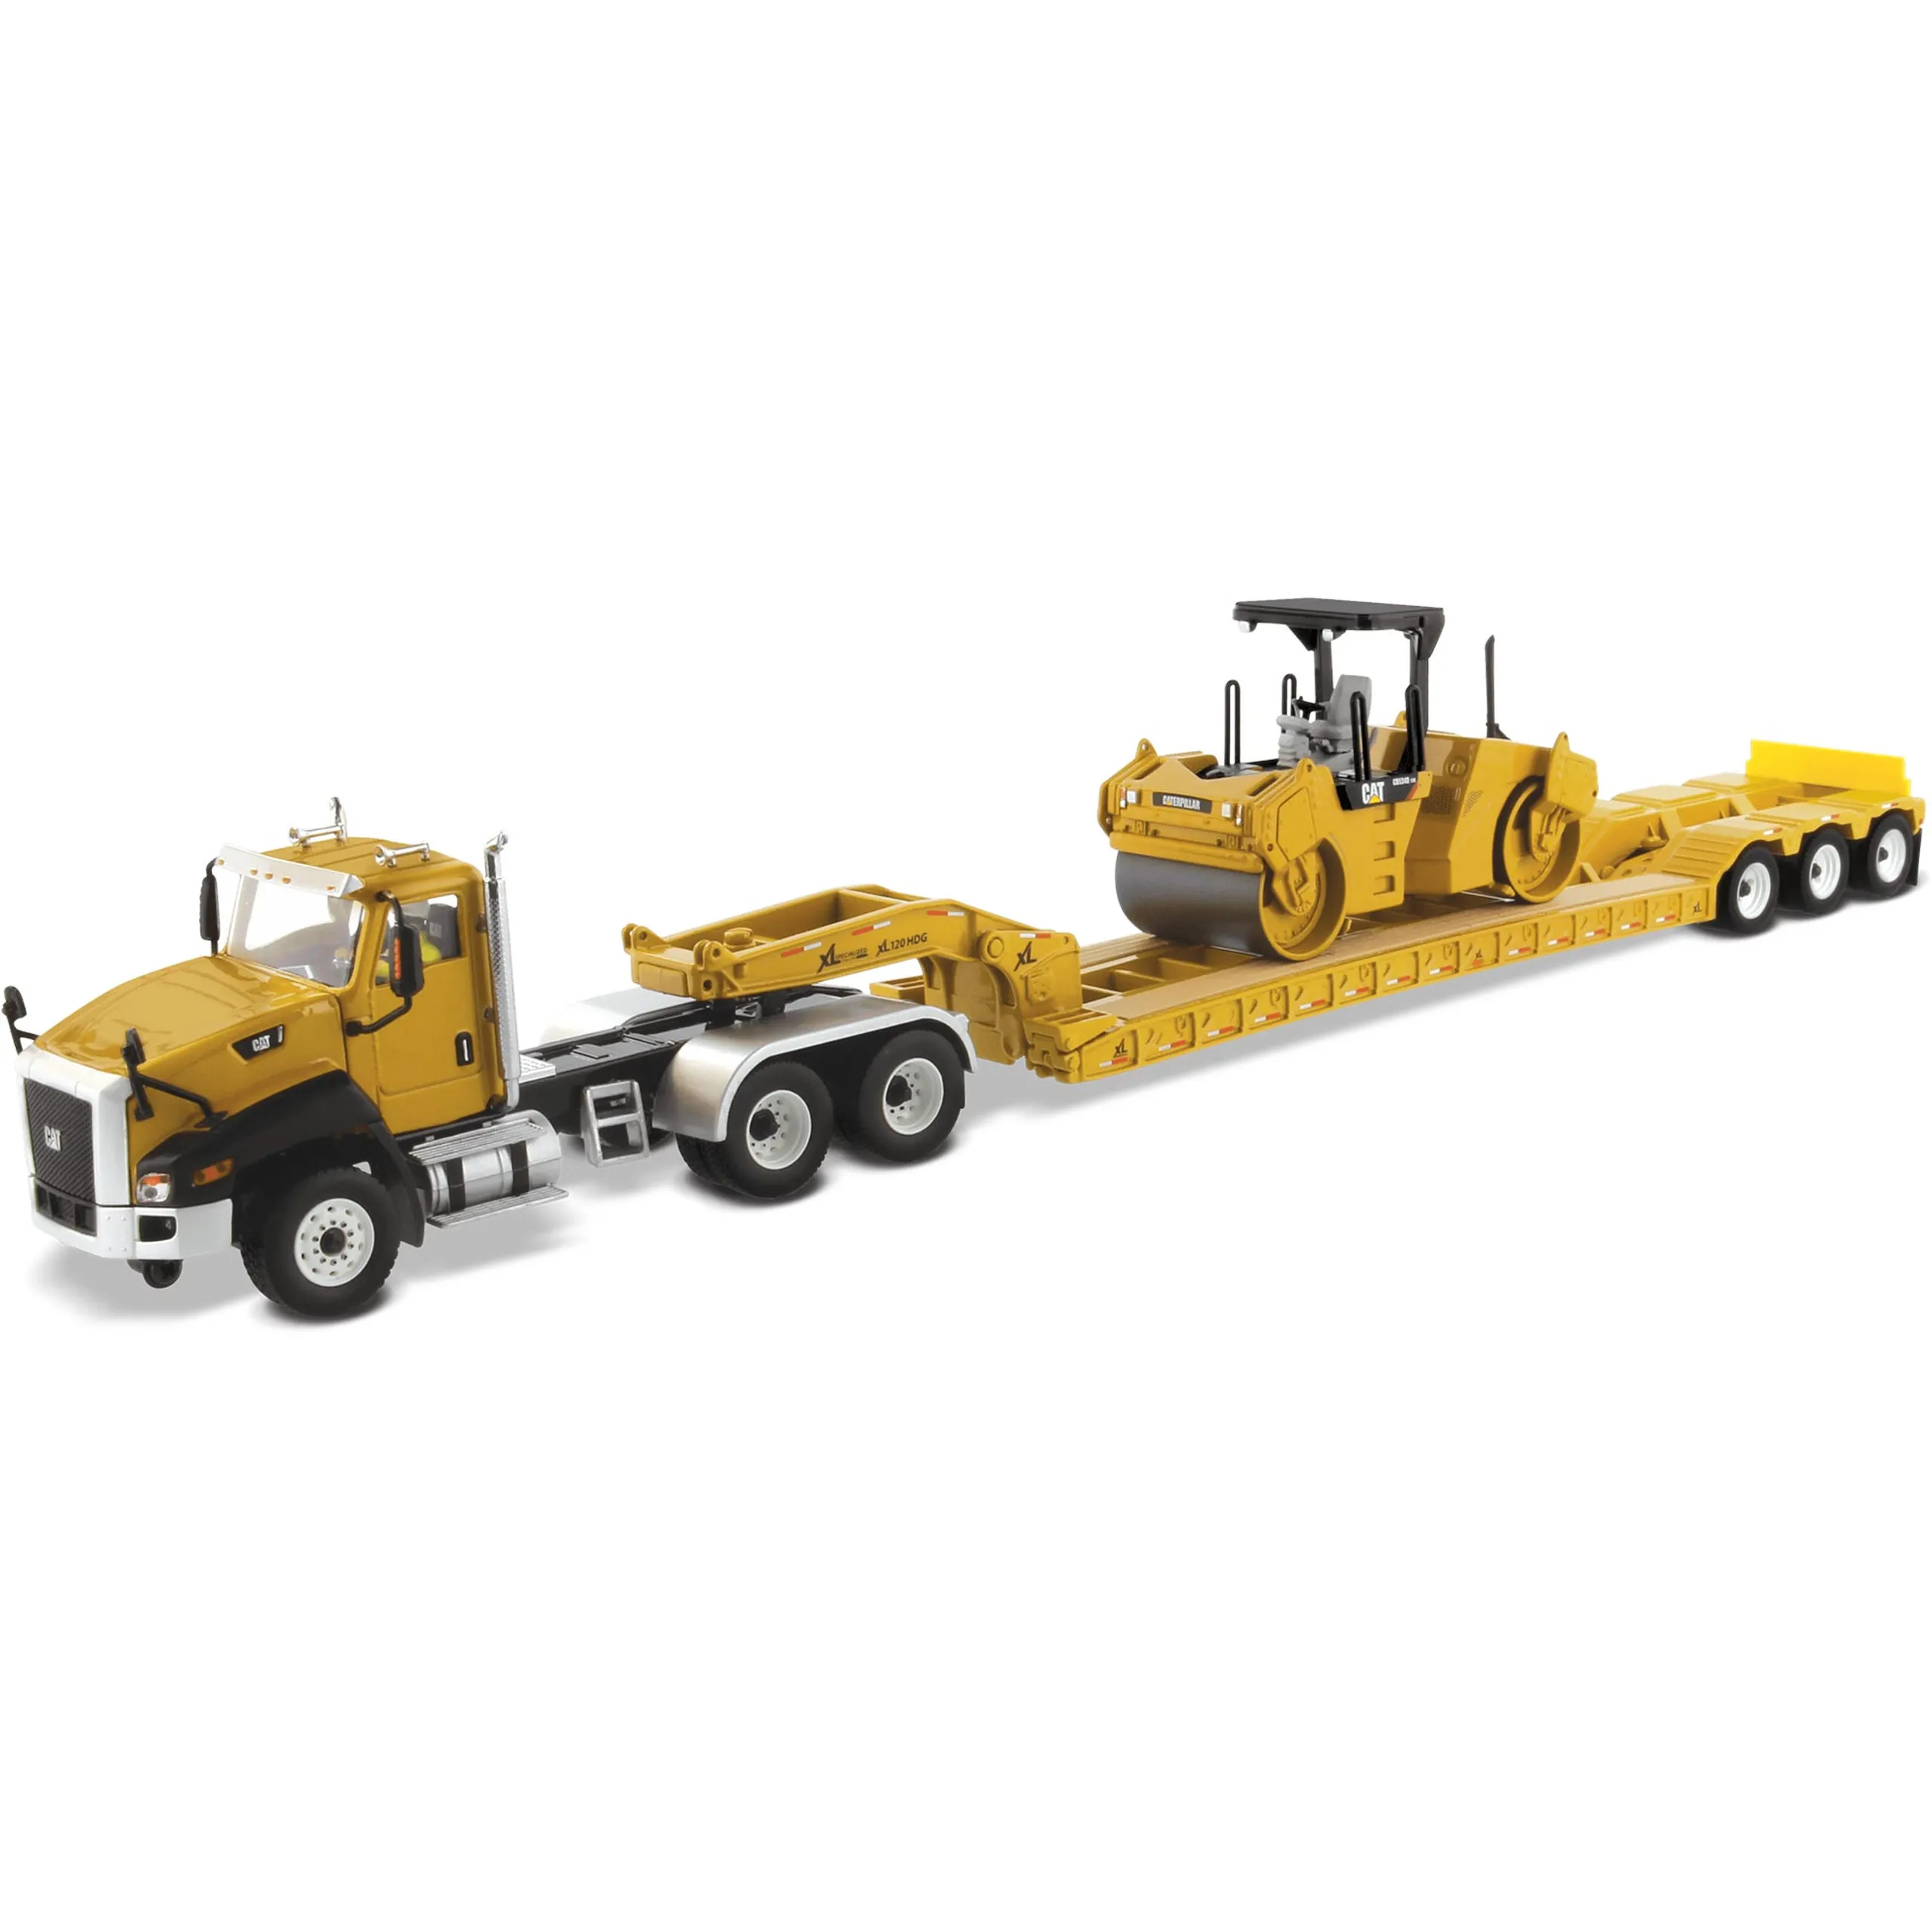
A basic toolkit should include a hobby knife with various blade types, a set of small screwdrivers (Phillips and flathead), and tweezers for handling small parts. Additionally, a cutting mat protects your work surface, while fine-grit sandpaper helps smooth surfaces. Glue, specifically plastic or CA (cyanoacrylate) glue, is a must. Other valuable tools are side cutters for trimming parts, a pin vise for drilling small holes, and a set of files for refining edges. Consider magnifying glasses or a head-mounted magnifier for detailed work. A good lighting setup will also greatly improve your experience.
Materials for Building
Besides glue, various paints, and detailing supplies are required for building. Acrylic paints are popular for their ease of use, quick drying time, and easy cleanup with water. Enamel paints offer durability and a glossy finish but require thinner for cleanup. A range of paintbrushes, from fine detail brushes to wider brushes for larger areas, is essential. Other materials include masking tape for precise painting, putty for filling gaps, and various weathering powders or washes to add realism. Decals often come with the model, but you can also purchase aftermarket decals to customize your model. Consider using a primer before painting.
Step-by-Step Building Guide
Building a diecast model is a rewarding process, from opening the box to displaying your finished creation. Following a structured approach ensures the best results. The guide covers the main steps to help you build a diecast model, from preparing the parts to applying the final touches. With patience and attention to detail, you can transform a collection of parts into a detailed replica. It also includes the information about some of the common mistakes that people make when building a diecast model.
Preparing the Model

Before assembling, carefully examine all parts. Separate them from the sprue (the plastic frame they come on) using side cutters or a hobby knife. Clean up any mold lines or excess plastic with a hobby knife or sandpaper. Wash the parts with mild soapy water to remove any oils or residue that might interfere with paint adhesion. Dry the parts thoroughly before starting assembly. Organize parts by type or location to make the building process more efficient. Refer to the instructions to identify the parts needed for each step of assembly.
Assembly Process
Start by assembling the larger components, such as the chassis, body, and interior. Use the appropriate glue for plastic parts. Work in small steps, allowing glue to dry completely before moving on. Fit parts carefully to ensure a proper alignment. Use clamps or tape to hold parts together while the glue sets. Regularly consult the instructions to ensure you are assembling the model correctly. Take your time, and do not rush the process. Test-fit parts before gluing to ensure a proper fit, and make adjustments as needed. Pay attention to the details, such as the alignment of parts and the direction of any decals. Always keep your work area tidy and well-lit.
Painting and Detailing
Painting and detailing are crucial steps that bring your model to life. Prepare the model for painting by priming it with a suitable primer. Choose the right paints for your model: acrylics are good for beginners, while enamels provide a durable finish. Apply multiple thin coats of paint, allowing each coat to dry before applying the next. Use masking tape to create clean lines for different color schemes. After painting, add details like chrome trim, lights, and emblems using fine detail brushes. Apply decals carefully, using setting solutions to help them conform to the model’s surface.
Advanced Techniques
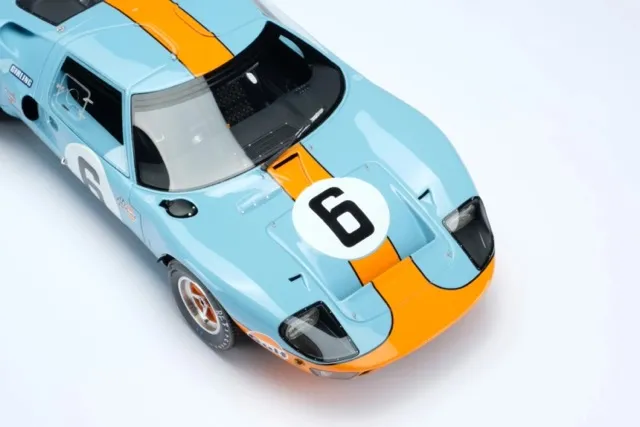
For advanced modelers, consider techniques such as weathering to add realism. This includes creating effects like rust, dirt, and fading to replicate wear and tear. Use weathering powders, washes, and dry brushing techniques. Experiment with airbrushing for more complex paint schemes and smooth finishes. Learn how to modify parts or add aftermarket details for added realism. Consider techniques such as pin-washing, highlighting, and shading. These techniques add depth and realism.
Adding Realistic Effects
Weathering techniques include washes, dry brushing, and the use of weathering powders to simulate dirt, dust, and rust. Washes are thin, diluted paints applied to recessed areas to accentuate details. Dry brushing involves lightly applying paint to raised surfaces to highlight edges. Weathering powders are used to create realistic effects like dirt and rust. To add realism to your model, consider modifying certain parts. You could also use aftermarket parts to add details and realism.
Common Mistakes and How to Avoid Them
Building diecast models can be challenging, and avoiding common mistakes is crucial for a successful outcome. One common mistake is using too much glue, which can cause parts to run and ruin the finish. Applying excessive paint can obscure details and lead to a lumpy appearance. Rushing the assembly process is another mistake, leading to misaligned parts and poor fit. Not preparing the model properly by cleaning and priming can cause paint to chip or peel. It is essential to address the issues and build a diecast model effectively.
Troubleshooting Tips
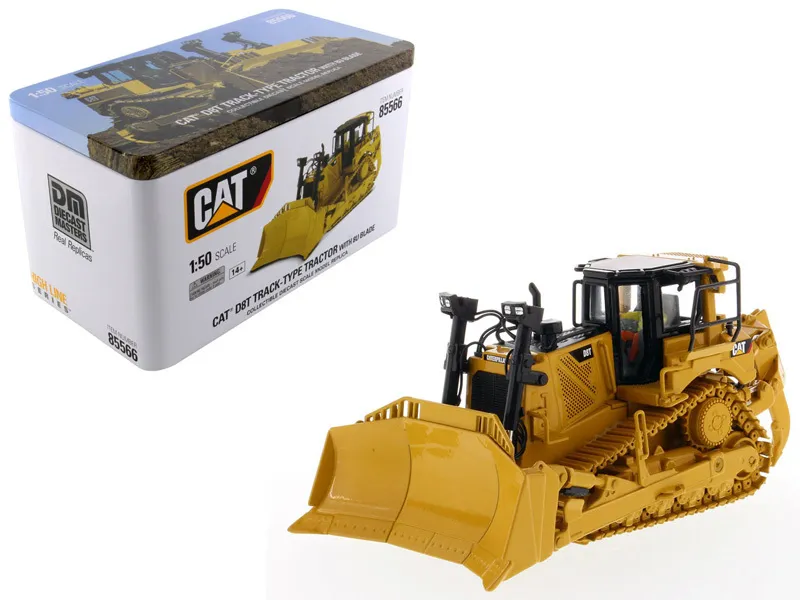
If you encounter issues during the build, don’t panic! If parts don’t fit, double-check that you have the correct parts and that the assembly sequence is correct. Use a hobby knife to carefully trim any excess plastic interfering with the fit. If paint is too thick, sand it lightly and apply thinner coats. If you make a mistake, use a hobby knife to carefully remove any excess glue, then reapply the glue. If decals don’t adhere, apply decal setting solution to soften them and help them conform to the surface. If parts break, try using CA glue or epoxy to repair them.
Showcasing Your Finished Model
After investing time in building a diecast model, showcasing it is a perfect way to enjoy and protect your creation. There are many ways to display your model, from simple shelves to elaborate dioramas. The display you choose depends on your space, the number of models you have, and your personal preferences. Properly displaying your models not only protects them from dust and damage but also allows you to admire your work and share it with others.
Display Ideas
Shelves are the simplest display option, providing a clean and organized way to showcase your models. Display cases offer protection from dust and damage while allowing you to admire your models. Consider using display stands to elevate models and add visual interest. Dioramas are more involved, featuring custom-built scenes that provide context for your models. You can create environments like garages, race tracks, or city streets. Use lighting to highlight your models and add depth to the display. Experiment with different display arrangements to see what works best for you.
Photography Tips
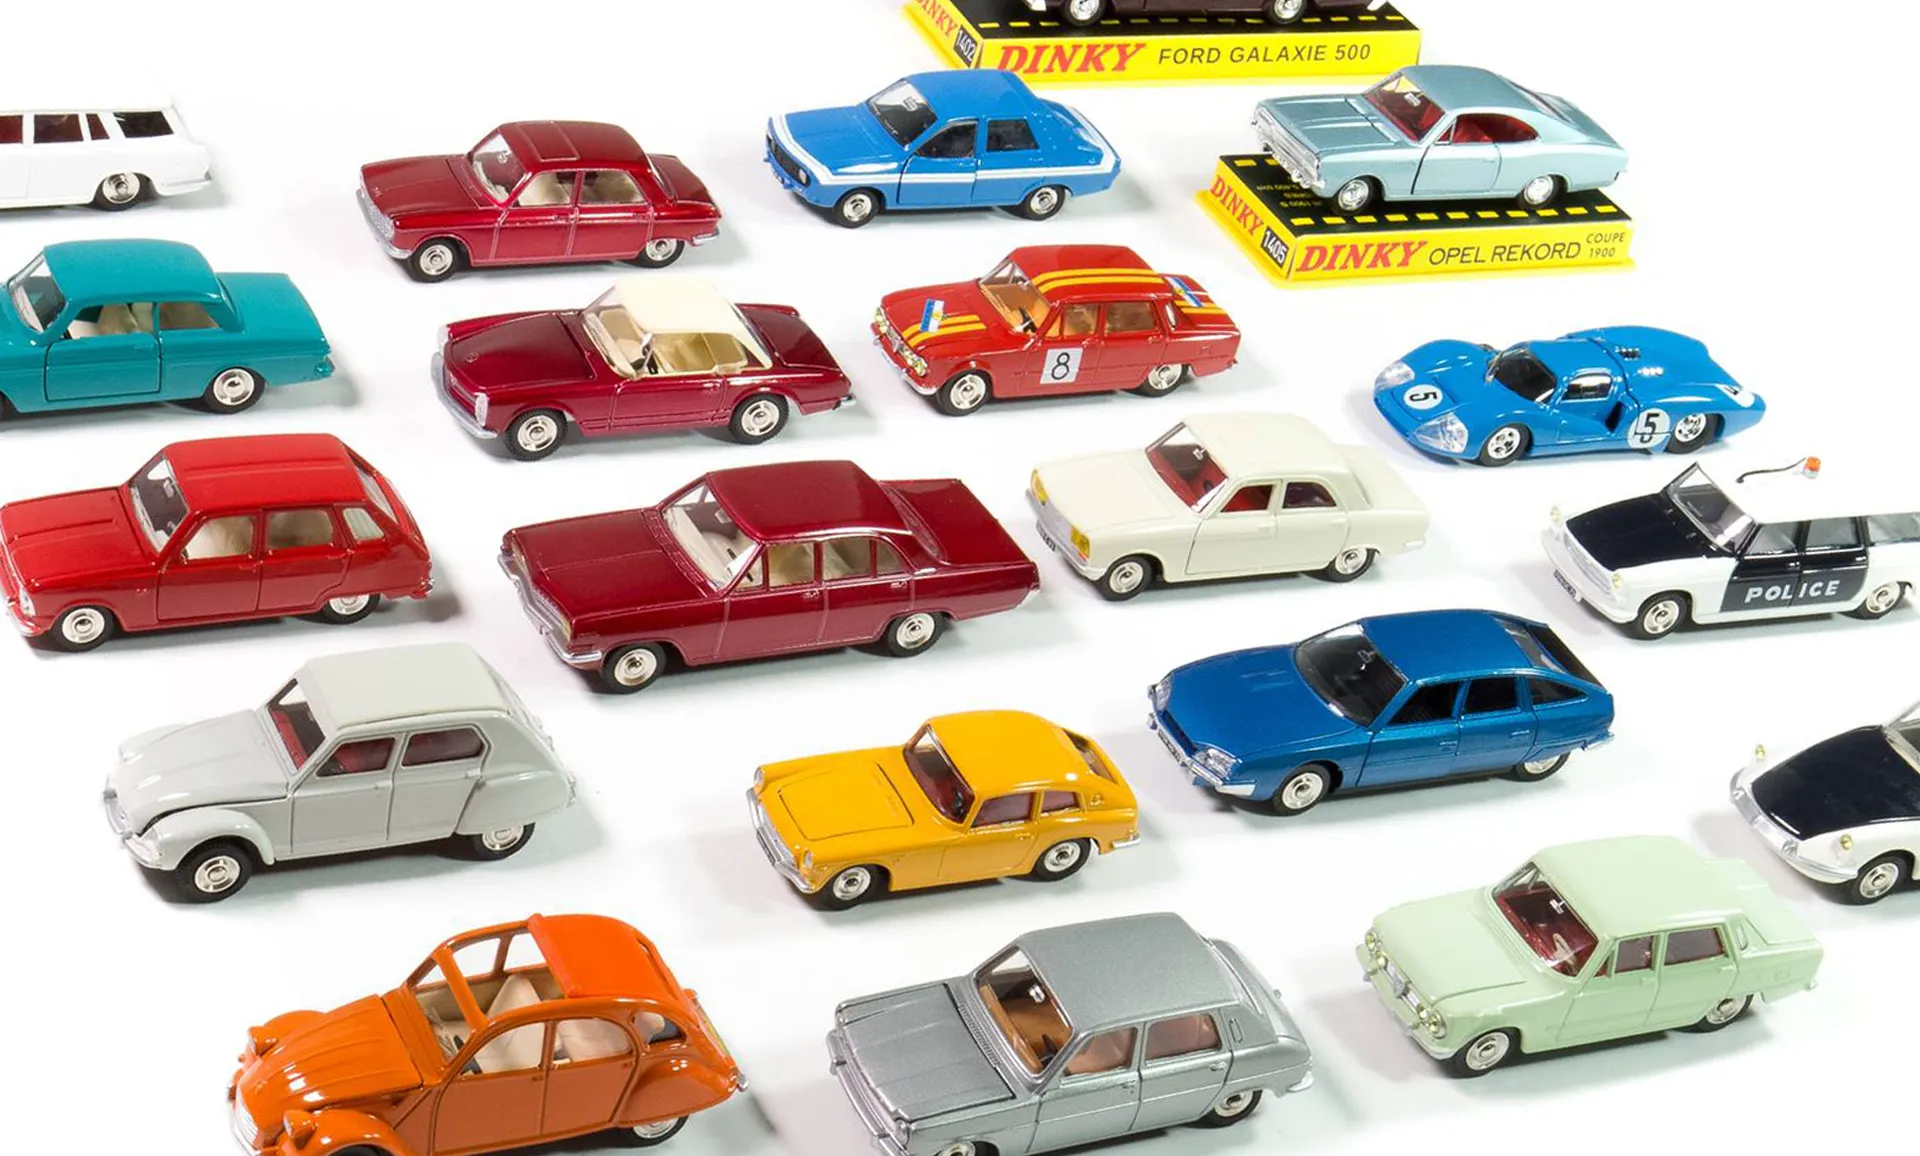
Taking good photos of your diecast models allows you to share your work and document your collection. Use a neutral background to prevent distractions and make your models the focus. Natural light is ideal for photography, as it provides soft and even illumination. If using artificial light, use softboxes or diffusers to avoid harsh shadows. Experiment with different angles and compositions to create visually appealing shots. Use a tripod to keep your camera steady and prevent blurry photos. Focus on the details and features of the model. Try different lighting setups to see what works best for each model.
Where to Buy Diecast Models and Supplies
Finding the right sources for diecast models and supplies is essential for starting and continuing your hobby. Local hobby stores are great places to find models, tools, paints, and accessories. These stores often offer expert advice and a community of fellow modelers. Online retailers provide a vast selection of models and supplies, often at competitive prices. Websites like Amazon, eBay, and specialized model stores are great resources. Model shows and swap meets are excellent opportunities to find rare models and connect with other collectors. Research and compare prices before making a purchase.
Building your own diecast model is a rewarding journey that combines creativity, patience, and skill. By following this guide and embracing the process, you can create stunning replicas of vehicles. Enjoy the process and take pride in showcasing the final result. Happy building!
