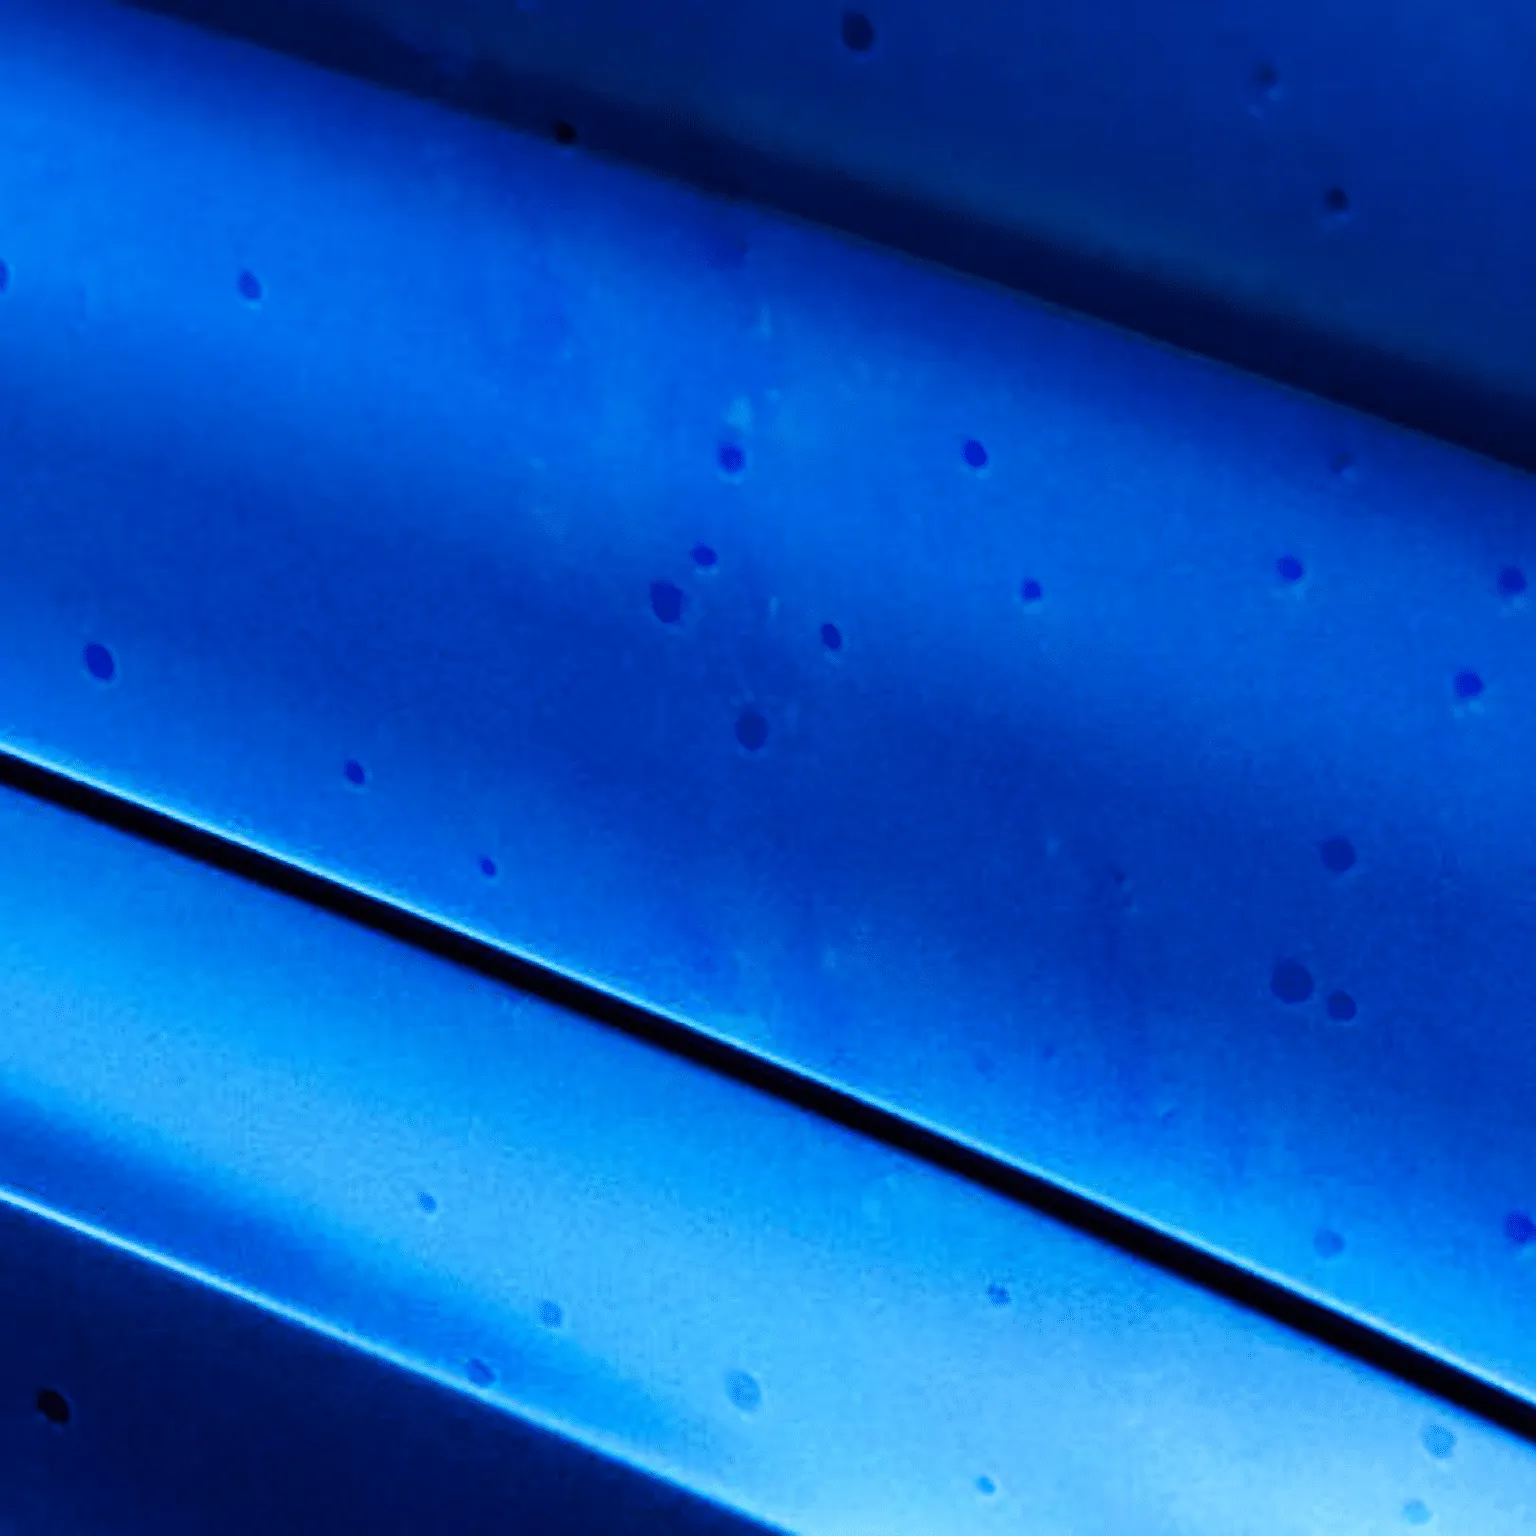
Diecast Paint Defects Introduction
Diecast models are prized possessions for collectors and enthusiasts alike, but they are susceptible to a range of issues. Among the most common and frustrating of these are paint defects. These imperfections not only detract from the aesthetic appeal of the model but can also significantly reduce its value. Understanding how to identify, address, and prevent these issues is crucial for anyone serious about diecast collecting or restoration. This guide provides a comprehensive overview of diecast paint defects, covering everything from the causes and types of defects to effective repair and preventative measures. Whether you’re a seasoned collector or just starting, this article will equip you with the knowledge to maintain the beauty and value of your diecast models.
Understanding Diecast Paint Defects
Diecast paint defects arise from a combination of factors related to the materials, manufacturing process, and environmental conditions. The paint itself is typically a thin layer applied over a metal or plastic surface. The quality of the paint, the application method, and the preparation of the underlying surface are all critical factors. Environmental factors like temperature fluctuations, humidity, and exposure to sunlight can also degrade the paint over time. Defects can manifest shortly after manufacturing or develop years later, emphasizing the need for careful handling and storage to preserve the model’s appearance. Moreover, the longevity of the paint job often depends on the quality of the original manufacturing process, including the type of paint used, the surface preparation, and the application techniques employed.
Common Types of Diecast Paint Defects
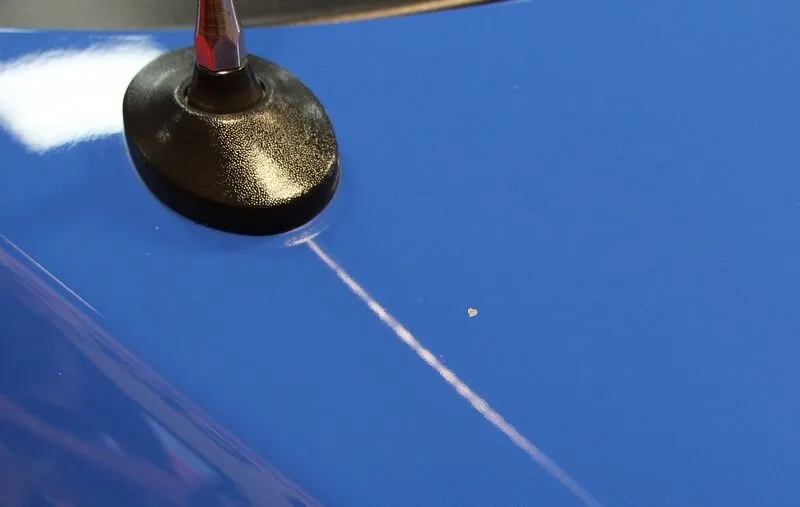
Several common paint defects affect diecast models, each with distinct characteristics and causes. Recognizing these defects is the first step in addressing them effectively. The following are the most frequently encountered paint defects in diecast models, providing insights into their appearance and underlying causes. By understanding these defects, collectors and restorers can develop targeted strategies for repair and prevention, ensuring the long-term beauty and value of their collections. Accurate identification of these issues is critical, as the approach to repair differs based on the specific type and severity of the paint defect.
Blistering
Blistering appears as small, raised bubbles or blisters on the paint surface. This defect often results from trapped air, moisture, or contaminants under the paint layer. Temperature changes can exacerbate the issue, causing the trapped substances to expand and lift the paint. Blistering can also be a result of improper surface preparation before painting, where oils or other residues were not adequately removed. Identifying the cause of blistering is crucial, as it will influence the repair approach. For example, blistering caused by moisture might require a more thorough drying process, while blisters due to contaminants may necessitate a complete paint removal and reapplication.
Cracking
Cracking manifests as fine lines or breaks in the paint surface. This defect can result from several factors, including the paint’s aging, the use of incompatible paints, or the expansion and contraction of the model material due to temperature fluctuations. Cracks can range from hairline fractures to more extensive splits, affecting both the appearance and the structural integrity of the paint. Addressing cracking often involves carefully removing the damaged paint and reapplying a compatible coating. Preventative measures, such as controlled storage environments, can help mitigate this issue. Regular inspection and early intervention are key to preventing cracks from spreading and causing further damage to the model’s finish.
Fading
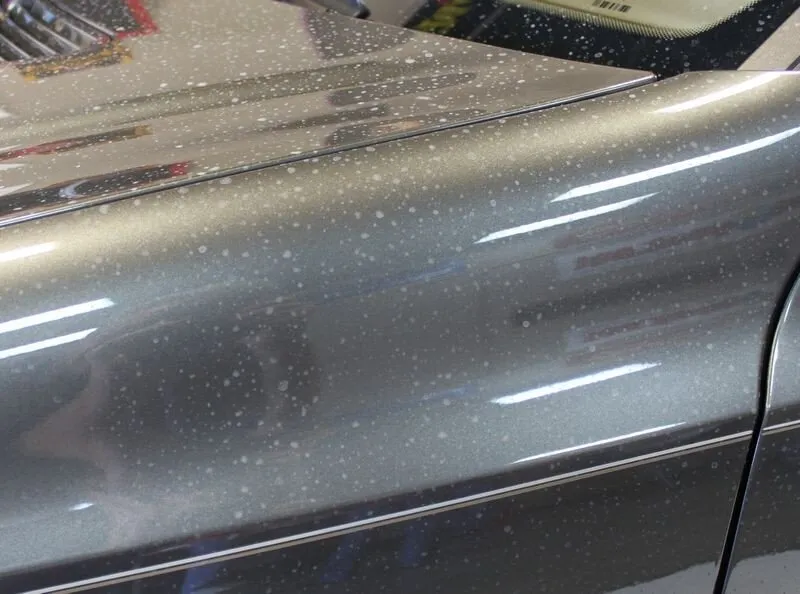
Fading refers to the loss of color intensity, often caused by prolonged exposure to sunlight or UV light. Over time, the pigments in the paint degrade, leading to a dull or bleached appearance. This defect is more common in models stored in direct sunlight or bright environments. Certain colors are more susceptible to fading than others. Protecting models from direct sunlight and using UV-resistant display cases can help prevent fading. Restoring faded paint often involves polishing the surface and reapplying a new layer of paint to match the original color. The use of quality paints and protective coatings is essential to enhance the longevity of the model’s appearance.
Chipping
Chipping involves small pieces of paint flaking or breaking away from the surface. This defect can result from physical impacts, improper handling, or inadequate paint adhesion. Chips can expose the underlying metal or plastic, making the model more vulnerable to corrosion and further damage. Careful handling, proper storage, and the use of protective displays can help prevent chipping. Repairing chips involves cleaning the area, applying primer, and repainting the chipped section. Matching the original paint color accurately is important. The process can be time-consuming, but essential for maintaining the model’s appearance. Early intervention can often prevent further chipping and damage.
Identifying Paint Defects on Your Diecast Models
Identifying paint defects requires a careful and methodical approach. Proper lighting, magnification tools, and a keen eye are essential for spotting even the most subtle imperfections. Regular inspection of your diecast models, coupled with a basic understanding of the common paint defects, will significantly improve your ability to maintain the quality and value of your collection. The more frequently you examine your models, the better you become at detecting early signs of damage, allowing for timely intervention and preventing more serious issues. Creating a routine inspection schedule is also beneficial to ensure that no models are overlooked.
Visual Inspection Techniques
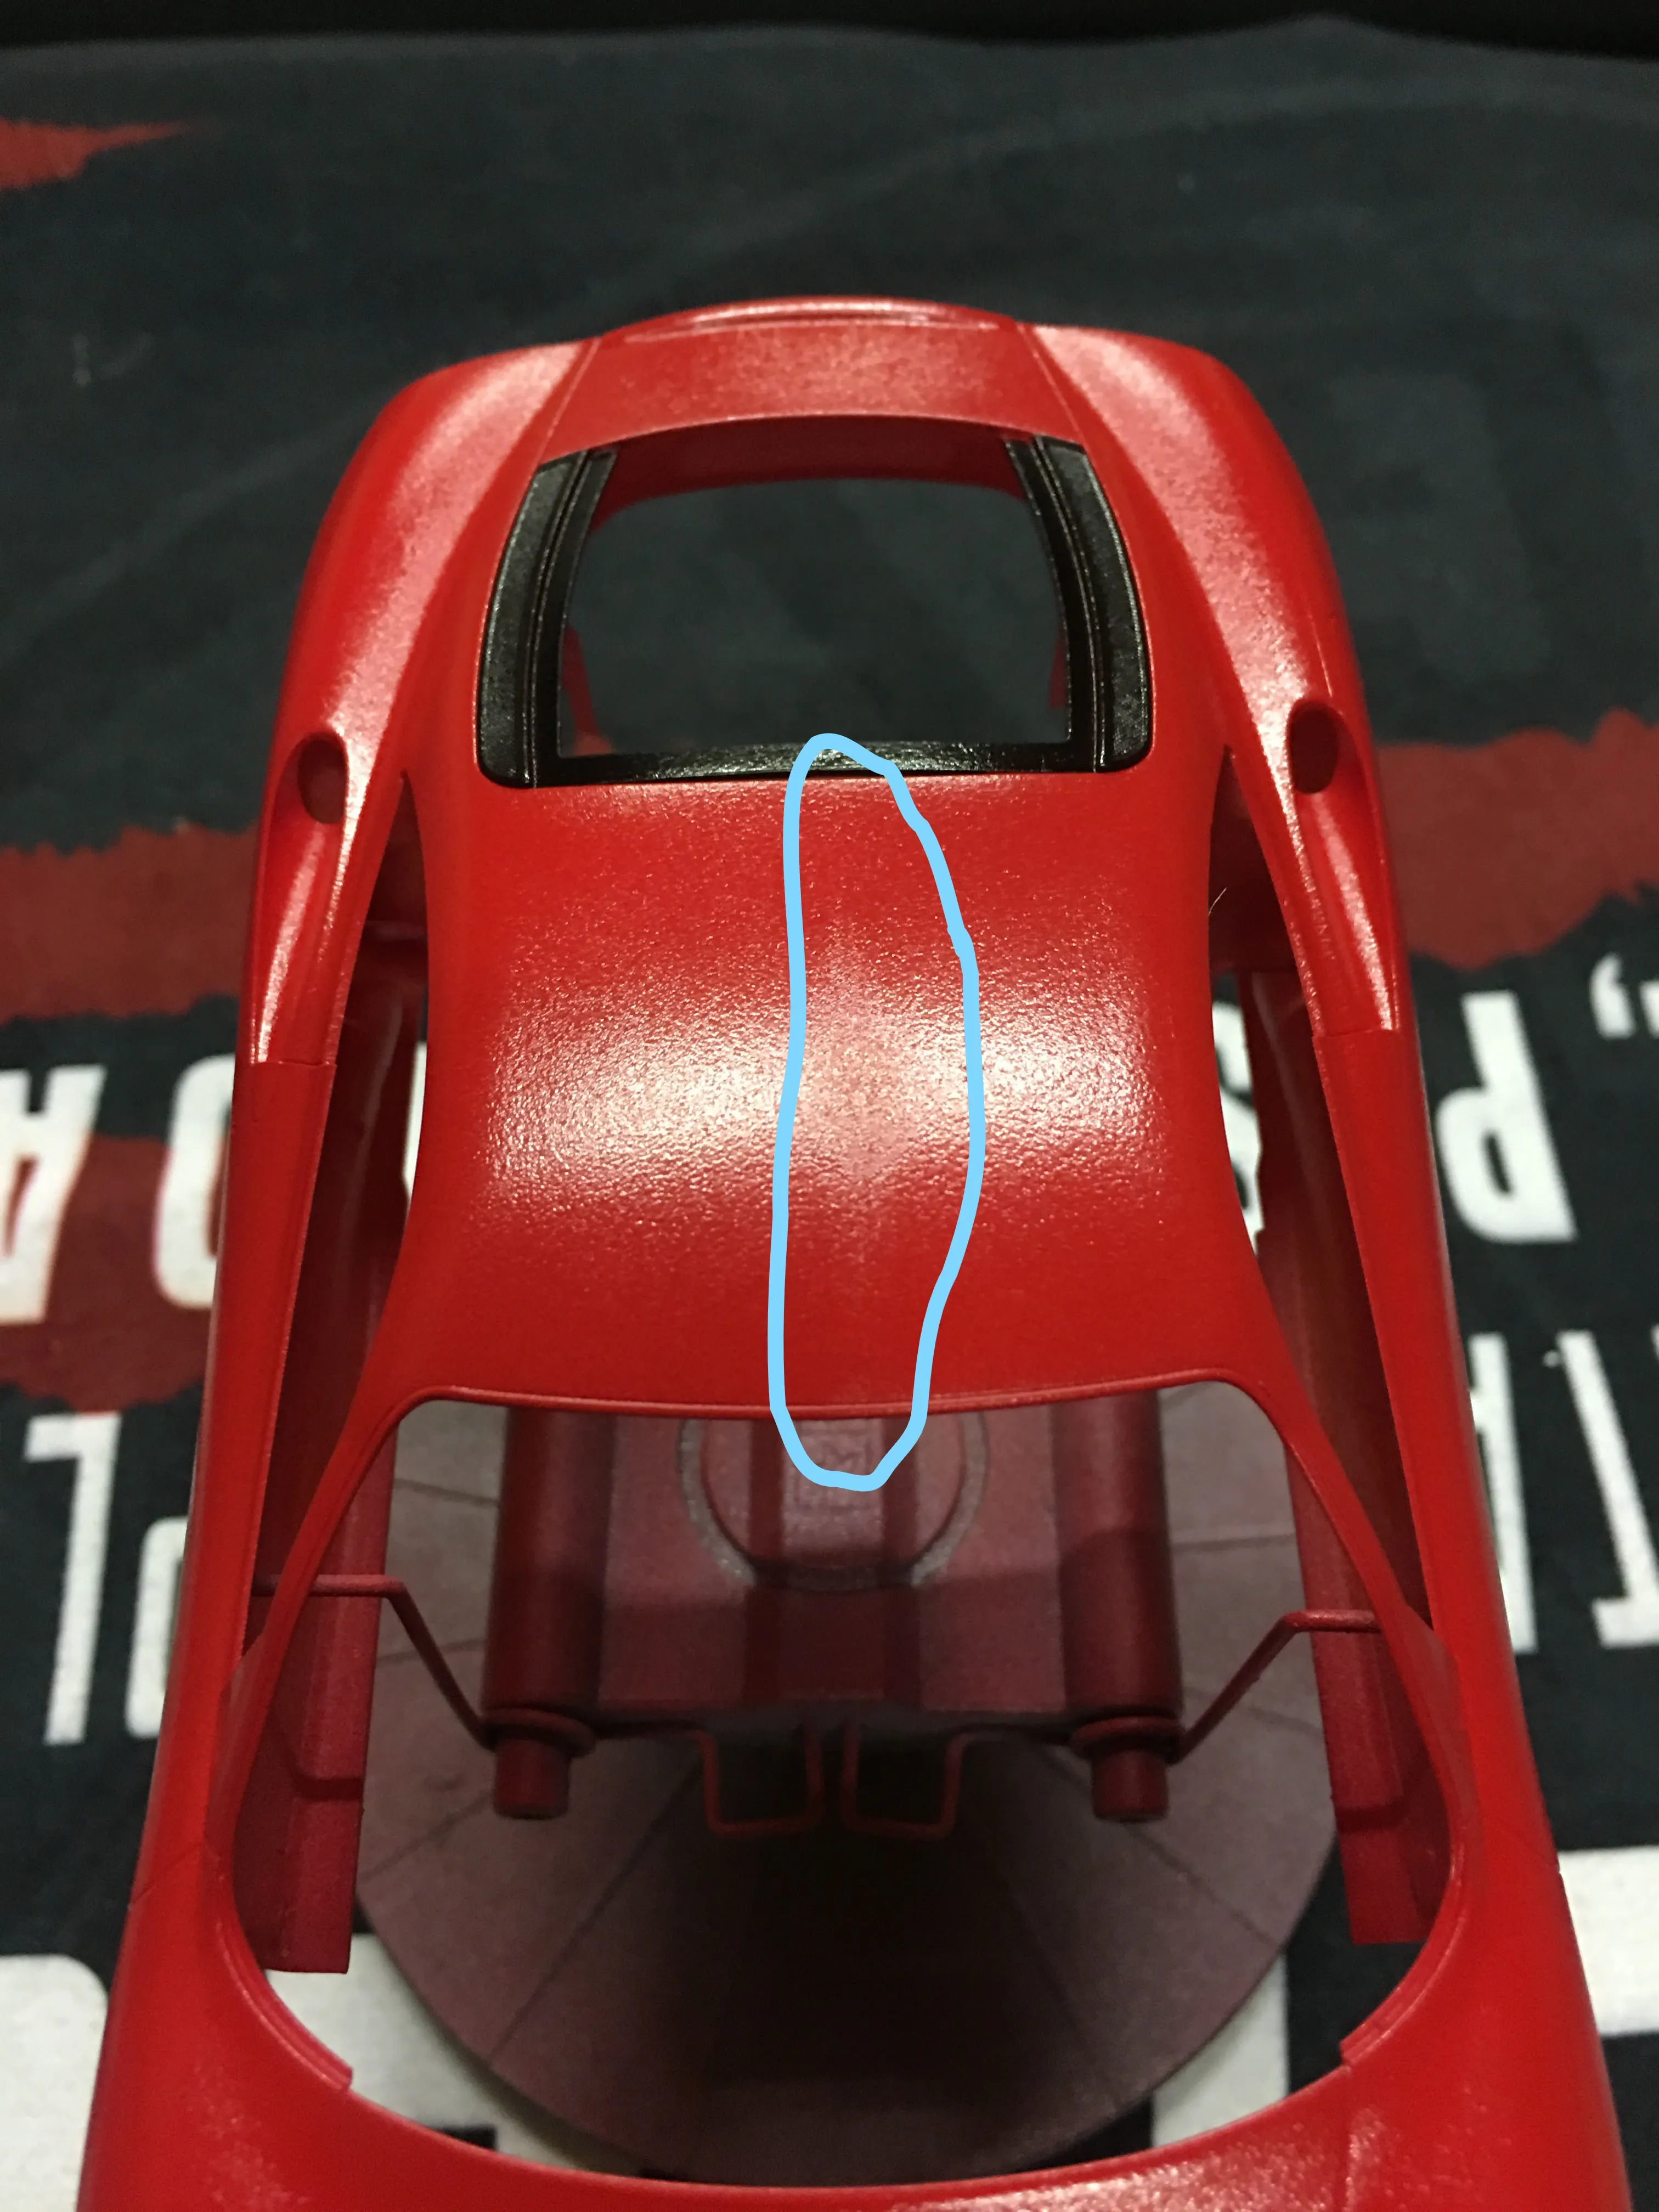
A thorough visual inspection is the cornerstone of defect identification. Begin by examining the model under good lighting conditions, preferably natural or well-distributed artificial light. Rotate the model slowly, observing it from different angles. Pay close attention to the surface, looking for any irregularities, inconsistencies, or changes in texture. Examine the paint for signs of blistering, cracking, fading, or chipping. Check the edges and corners, as these areas are often more susceptible to damage. Compare the paint finish across the entire model to identify any areas with different color or sheen. Record any defects found and note their location. This detailed observation is crucial for planning repairs and tracking the model’s condition over time.
Using Magnification Tools
Magnification tools, such as magnifying glasses or jeweler’s loupes, are invaluable for detecting subtle defects that may be missed by the naked eye. These tools allow you to examine the paint surface in greater detail, making it easier to identify hairline cracks, tiny chips, and other minor imperfections. Using a magnifier helps in determining the extent of the damage and the appropriate repair method. Start with a low magnification to get a general overview and increase the magnification as needed to examine specific areas of concern. When using magnification tools, ensure adequate lighting to illuminate the surface. Combining visual inspection with magnification allows for a more accurate assessment of the paint’s condition.
The Importance of Lighting
Proper lighting is critical for accurate defect identification. The type and direction of light can significantly impact the visibility of paint defects. Natural light is often the best for inspection, providing a broad spectrum of light that reveals imperfections clearly. If natural light is unavailable, use a well-lit area with balanced artificial lighting. Avoid direct sunlight, as it can cause glare and make it difficult to see defects. Use different angles of light to highlight the paint surface. Diffused light, like that from a softbox or indirect lighting, can help reveal subtle variations in the paint finish. Position the light source to illuminate the model evenly. Experiment with different lighting conditions to optimize defect visibility and ensure a thorough inspection process.
Repairing Diecast Paint Defects
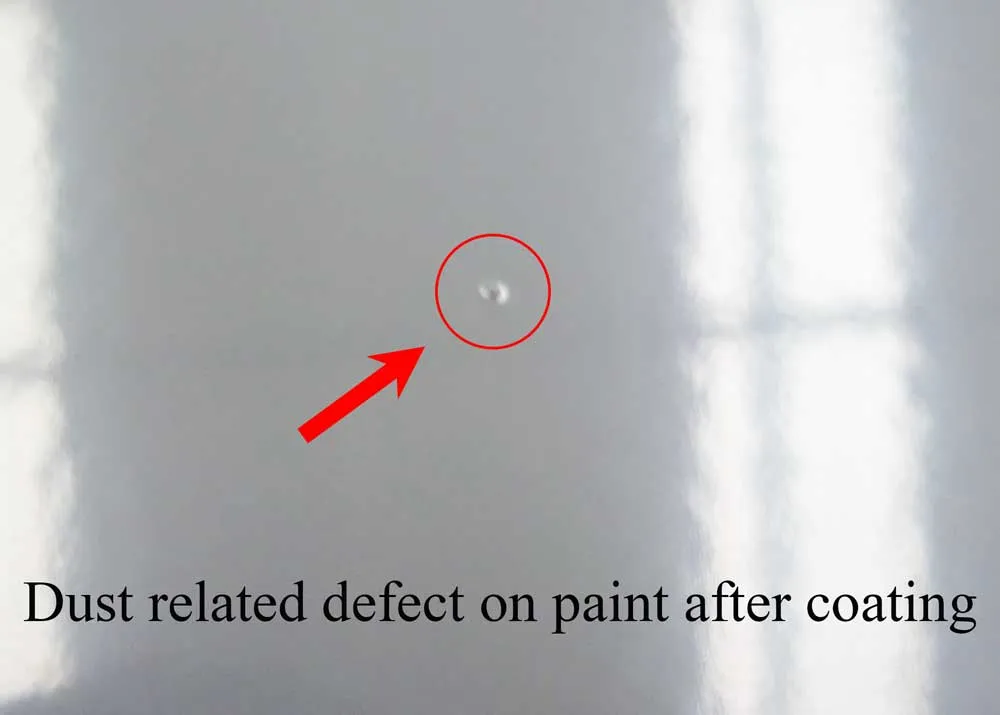
Repairing diecast paint defects can restore the model’s appearance and prevent further damage. The specific repair process depends on the type and severity of the defect. Proper preparation, the selection of the right materials, and the use of appropriate techniques are essential for achieving successful results. While some repairs may be simple, others may require advanced skills and tools. Before beginning any repair, assess the extent of the damage and gather the necessary supplies. Patience and attention to detail are vital for ensuring that the repair is done properly and that the restored finish matches the original as closely as possible. It’s often advisable to practice on a less valuable model before attempting repairs on a prized possession.
Preparing the Surface for Repair
Surface preparation is a critical step in any paint repair process. It ensures that the new paint adheres properly and that the repair blends seamlessly with the original finish. Begin by cleaning the damaged area to remove any dirt, oil, or contaminants. Use a mild soap and water solution, followed by a thorough rinse and dry. For more significant damage, you may need to remove loose paint and smooth the surface. Use fine-grit sandpaper to lightly sand the area, feathering the edges to create a smooth transition. Be careful not to damage the underlying metal or plastic. Clean the sanded area again to remove any sanding dust. Use a tack cloth to ensure that the surface is completely free of debris before applying any primer or paint. Proper preparation is essential for ensuring a long-lasting and professional-looking repair.
Choosing the Right Paint and Tools
Selecting the correct paint and tools is essential for achieving the best possible results in your diecast paint repair. The type of paint needed will depend on the original paint used on the model. Acrylic lacquers, enamels, and automotive paints are common. Match the paint type as closely as possible to the original for optimal results. Consider the color and finish of the original paint. If possible, use a color matching system or take the model to a paint supply store to get a custom color match. Purchase high-quality paint. In addition to paint, you’ll need several tools to complete the job. These include fine-grit sandpaper, a primer, a tack cloth, a small paintbrush or airbrush, and various detailing tools. Using the correct tools and high-quality materials increases the chances of a successful repair.
Repairing Minor Defects
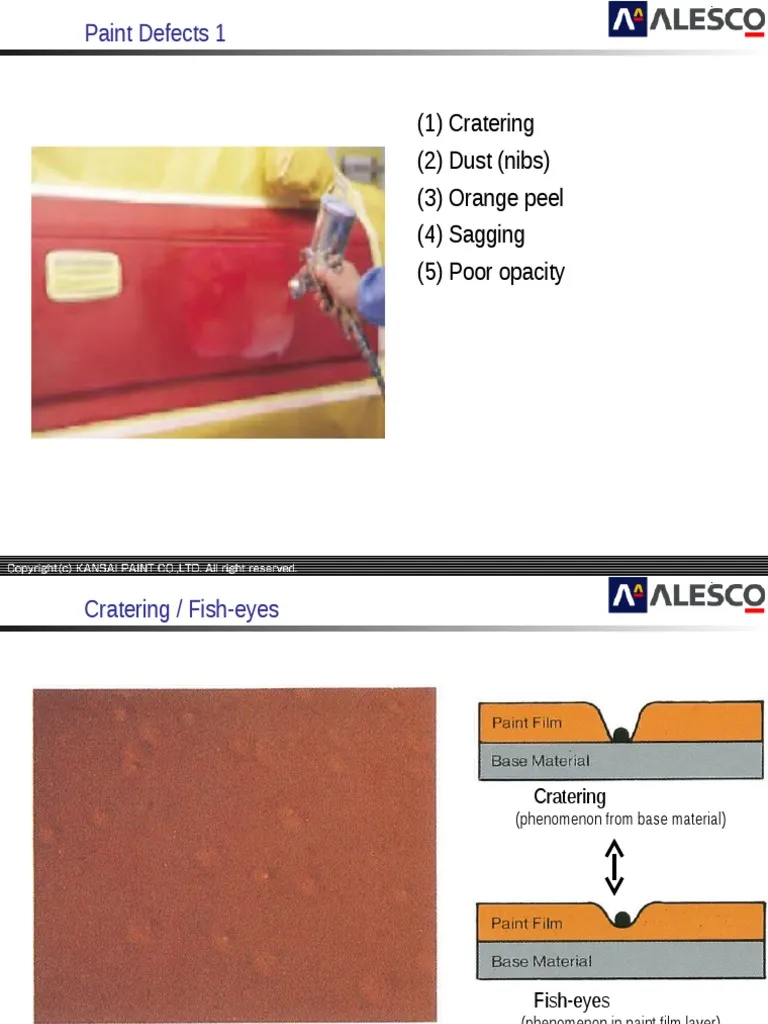
Minor defects, such as small chips or scratches, can often be repaired relatively easily. Start by cleaning and preparing the damaged area, as described previously. Apply a small amount of primer to the exposed metal or plastic, if necessary, and allow it to dry completely. Using a fine-tipped brush or a toothpick, carefully apply a thin layer of matching paint to the damaged area, building up the layers gradually. Allow each layer to dry completely before applying the next. Once the paint is dry, you may need to use a fine grit polishing compound to blend the repair area with the surrounding finish. Apply the compound and polish gently until the repaired area appears smooth and the color match is seamless. The key to successful minor defect repair is precision and patience.
Repairing Major Defects
Major defects, such as large areas of peeling or significant paint loss, require more extensive repairs. Begin by carefully removing all loose paint using a hobby knife or fine-grit sandpaper. Sand the area smooth, feathering the edges to blend into the surrounding paint. Clean the area and apply a primer to the bare metal or plastic. Once the primer is dry, apply several thin coats of matching paint, allowing each coat to dry completely before applying the next. For large areas, an airbrush may provide a more even finish. After the paint has dried, you may need to wet sand the repaired area with very fine grit sandpaper to smooth any imperfections. Finally, polish the area to match the surrounding finish. Major defect repairs are time-consuming, requiring careful attention to detail to restore the original appearance.
Preventing Future Paint Defects
Preventing diecast paint defects requires a proactive approach that focuses on proper storage, handling, and maintenance. Implementing these preventative measures will significantly reduce the risk of damage and preserve the value and appearance of your models for years. Prevention is always the best approach when it comes to protecting your valuable diecast models. By adopting these practices, you can help maintain the condition of your collection and avoid the need for extensive repairs. Regular care and attention are key to keeping your models in pristine condition, and preventing the development of paint defects.
Proper Storage Conditions
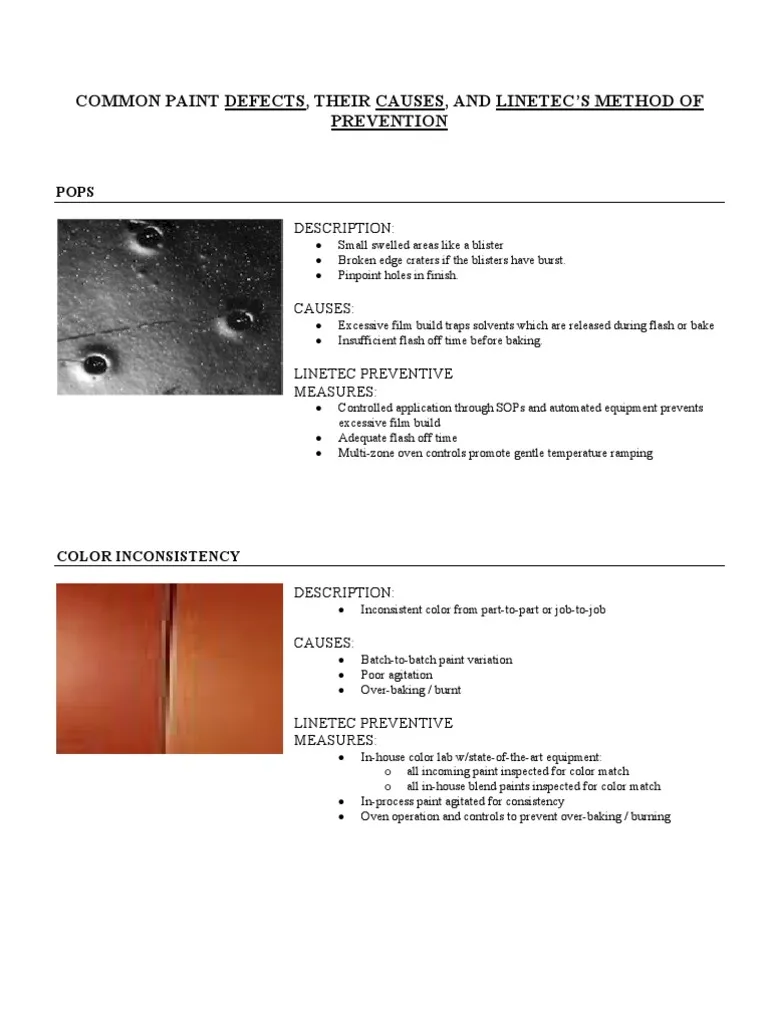
Proper storage conditions are essential for protecting diecast models from paint defects. Store your models in a cool, dry, and well-ventilated environment. Avoid areas with extreme temperatures or humidity, as these conditions can cause the paint to blister, crack, or fade. Keep your models out of direct sunlight and away from strong UV light sources. Use display cases or storage boxes to protect them from dust, scratches, and accidental damage. Consider using desiccant packs or moisture absorbers in storage areas to reduce humidity. The goal is to create a stable environment that minimizes the risk of environmental damage. Ensuring the proper environment is often the most important factor in extending the life of your diecast models.
Regular Cleaning and Maintenance
Regular cleaning and maintenance are crucial for preventing paint defects. Dust and dirt can accumulate on the surface of your models and contribute to paint damage. Regularly dust your models using a soft, clean cloth or a specialized model-cleaning brush. Avoid using harsh chemicals or abrasive cleaners, as these can damage the paint. Use a mild soap and water solution, if necessary, and dry the model gently. Handle your models with clean hands to prevent oils and other contaminants from transferring to the paint. Inspect your models regularly for any signs of paint defects or damage. Catching issues early on can make it easier to prevent more serious problems. By implementing a regular cleaning and maintenance routine, you can keep your models in excellent condition and prevent many common paint defects.
Conclusion
Diecast paint defects are a common challenge for collectors, but with the right knowledge and approach, they can be effectively managed. Understanding the types of defects, how to identify them, and how to repair or prevent them is essential for preserving the beauty and value of your diecast models. By following the guidelines outlined in this article, you can take proactive steps to protect your collection from damage and maintain its pristine condition. Remember that patience, careful handling, and regular maintenance are key to enjoying your diecast models for years to come. With diligent care, your diecast models will remain a source of pride and enjoyment for years to come.
